आधार Client 182-3 automatic Hide प्रोब्लम कैसे सॉल्व करे | बिना Parallel Enrolment आए
नमस्कार दोस्तों हमारी टीम ने इस विषय में धासु आर्टिकल लिखा है जिससे की आपका आधार मशीन Parallel Enrolment नहीं आये और मशीन ठीक भी हो जाये तो चलिए शुरू करते है |
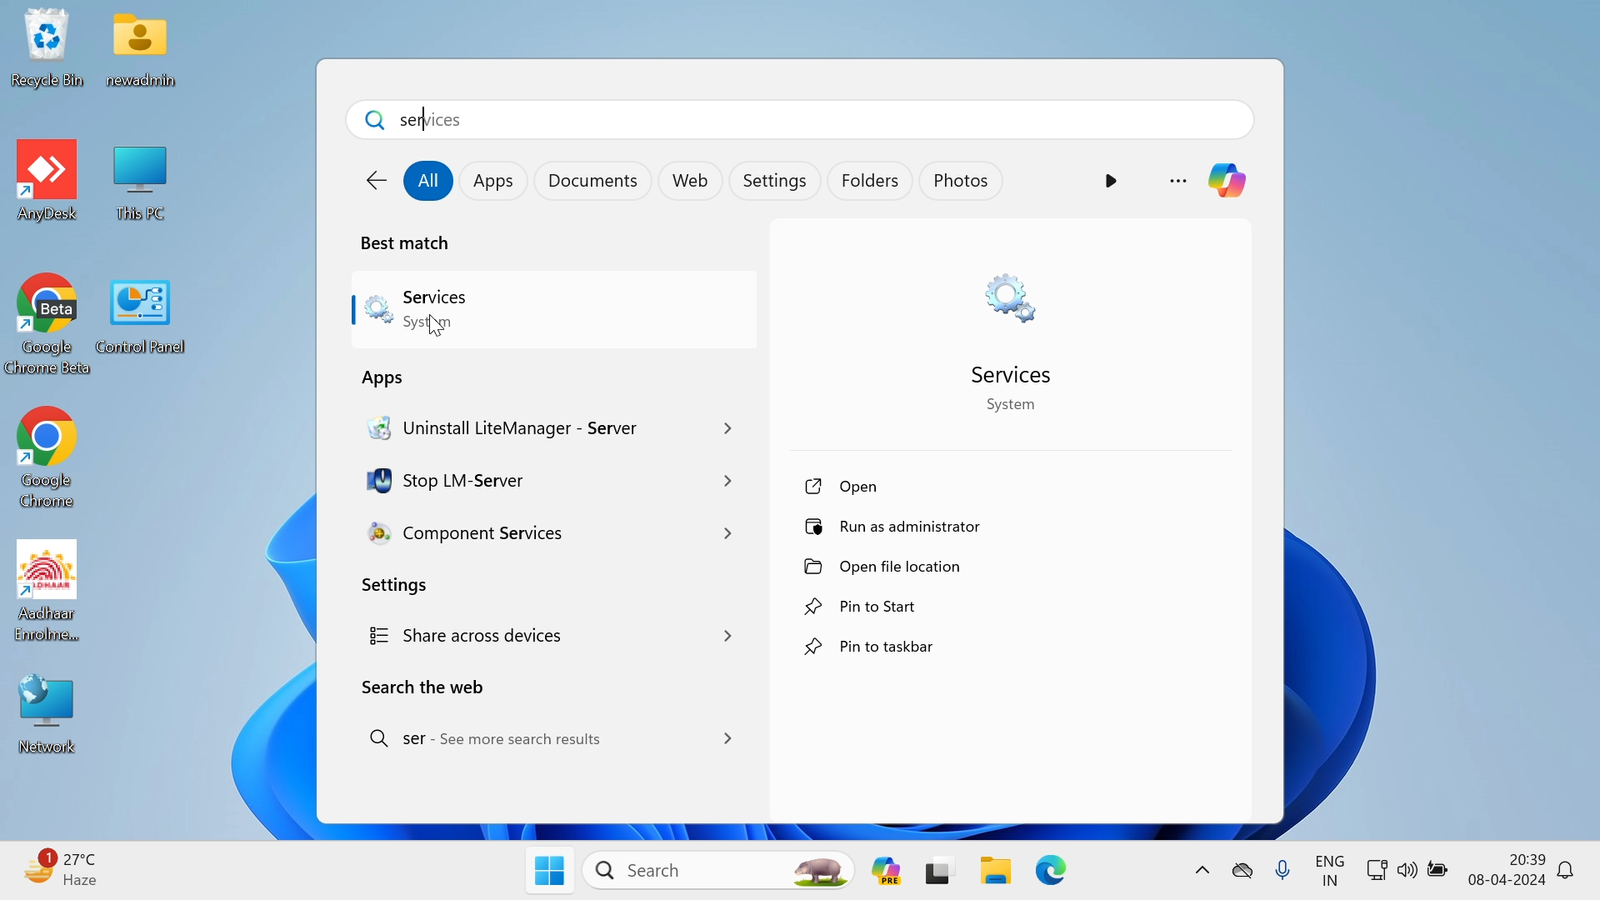
1. सबसे पहले आपको 🪟Windows Button पर प्रेस कर के “Services” ⚙️ सर्च करना है :
2.फिर उसके बाद आपको आधार के तीनो “Services” को बंद करना होगा ये निम्न है:
- Aadhaar Multiplatform Device Manager
- Aadhaar OTA Update Client
- Aadhaar QSSITV Service

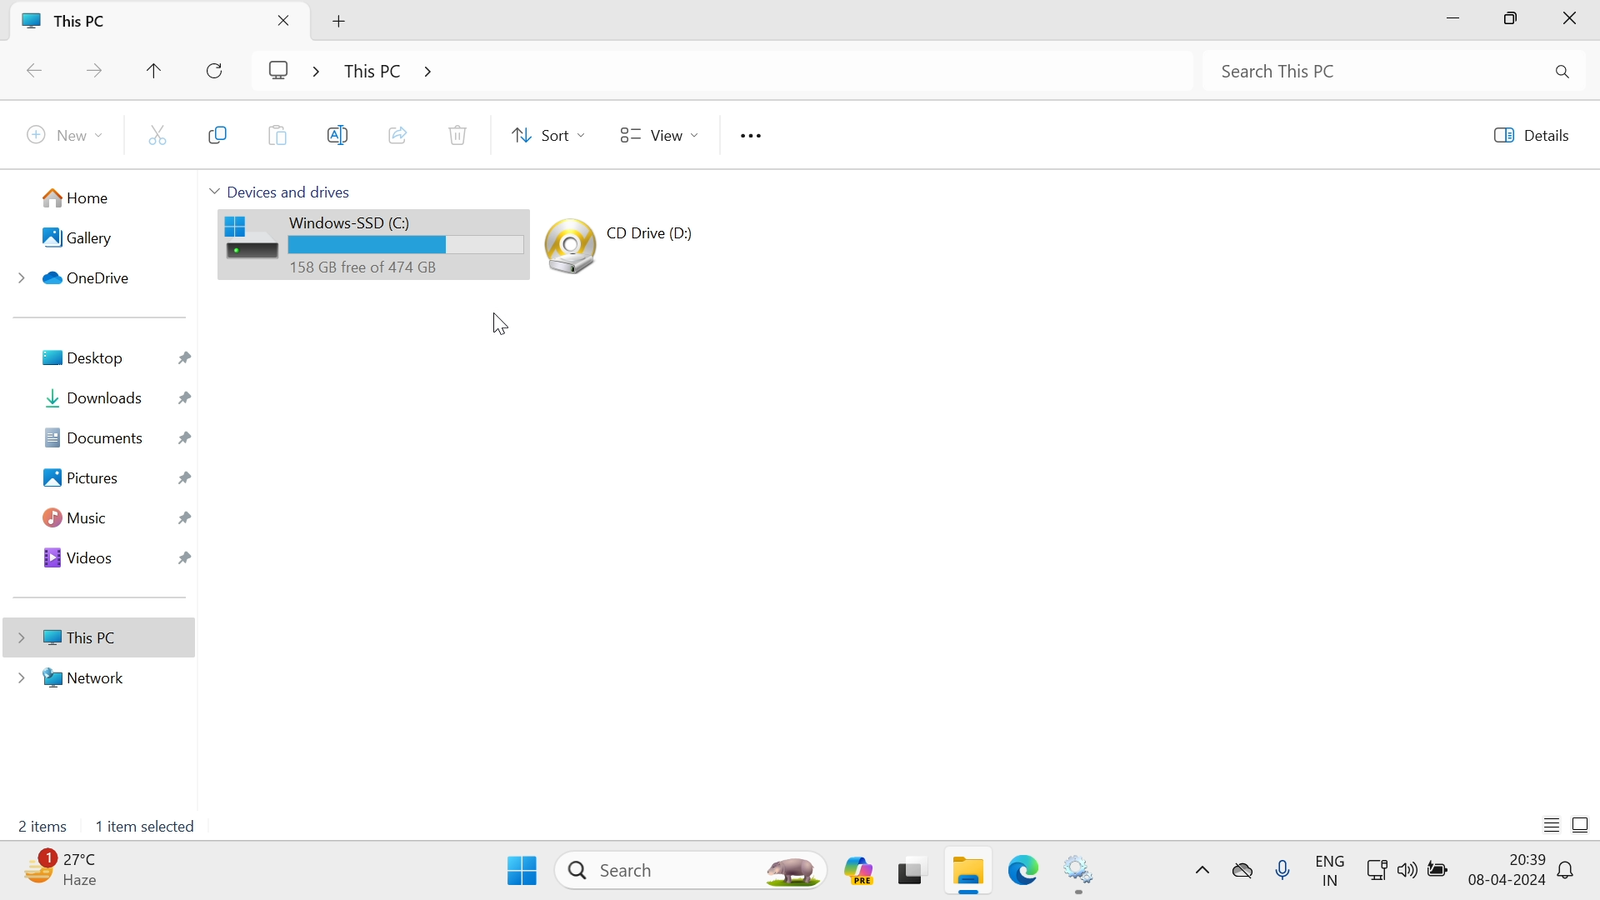
3. ये सब करने के बाद आपको आना है अपने Computer के C: Drive में :
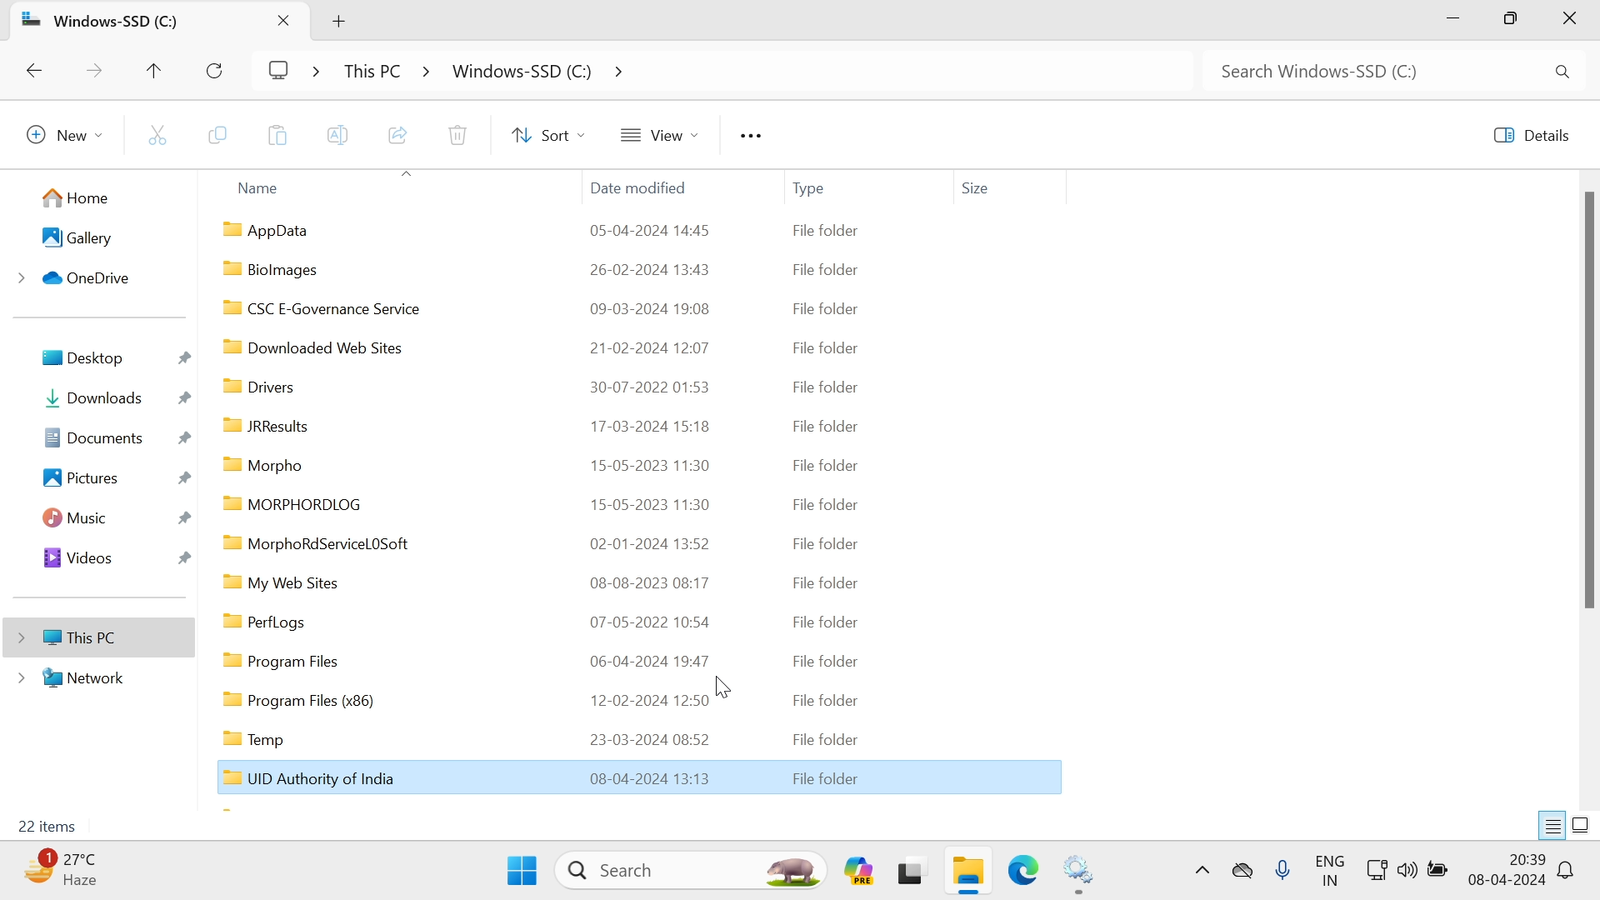
4. C: Drive में आने के बाद आपको अपना (UID Authority of India) वाला Folder ओपन करना है:
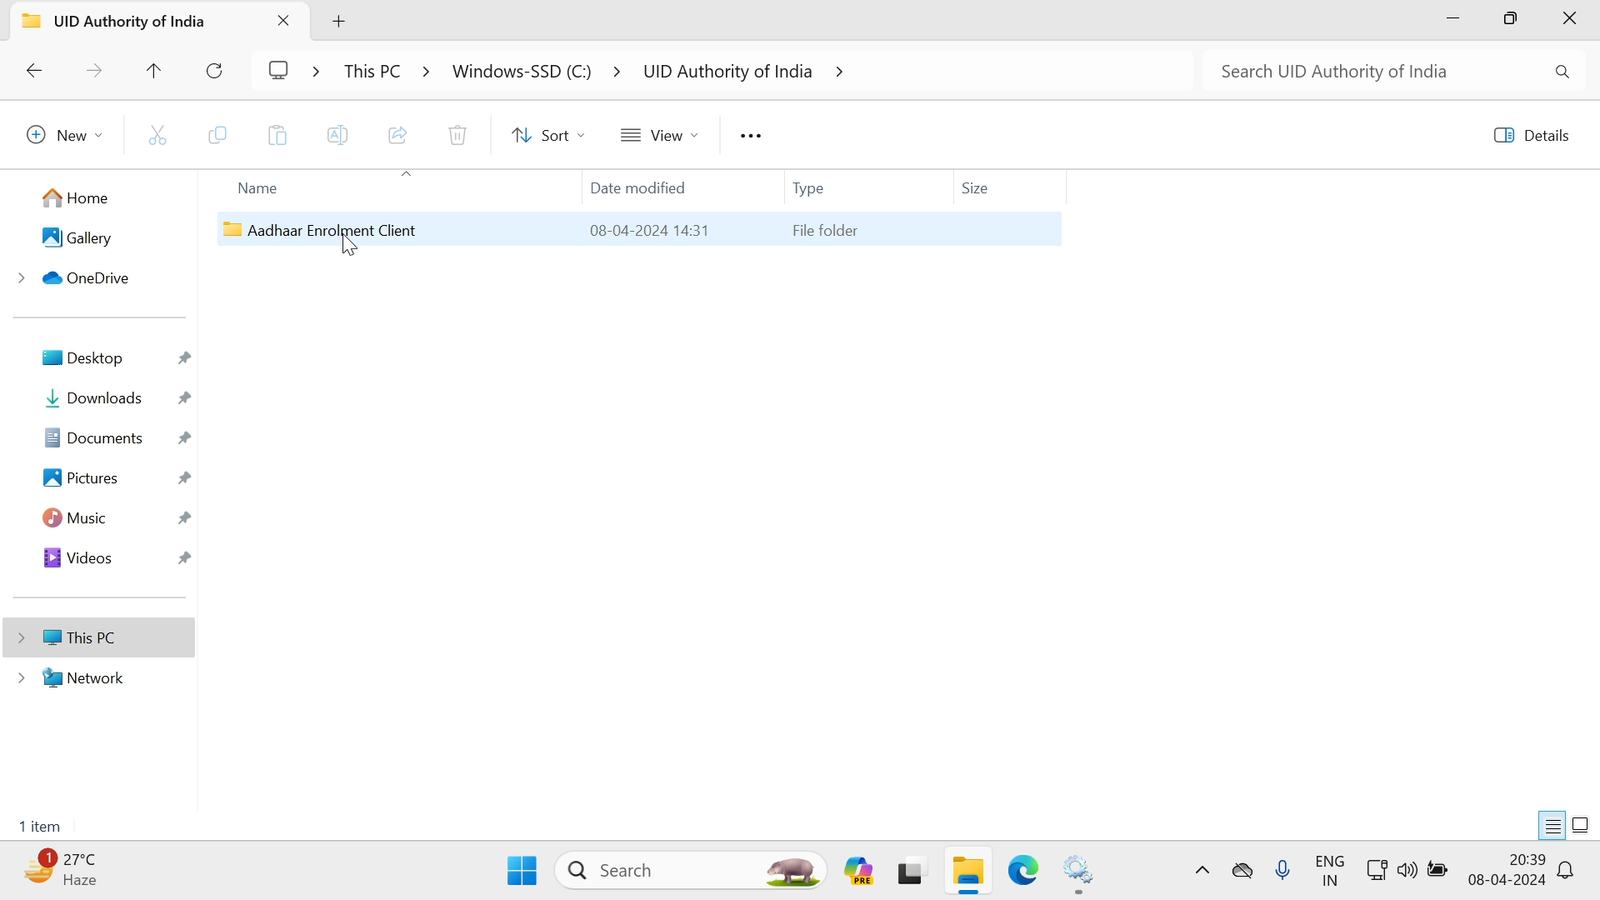
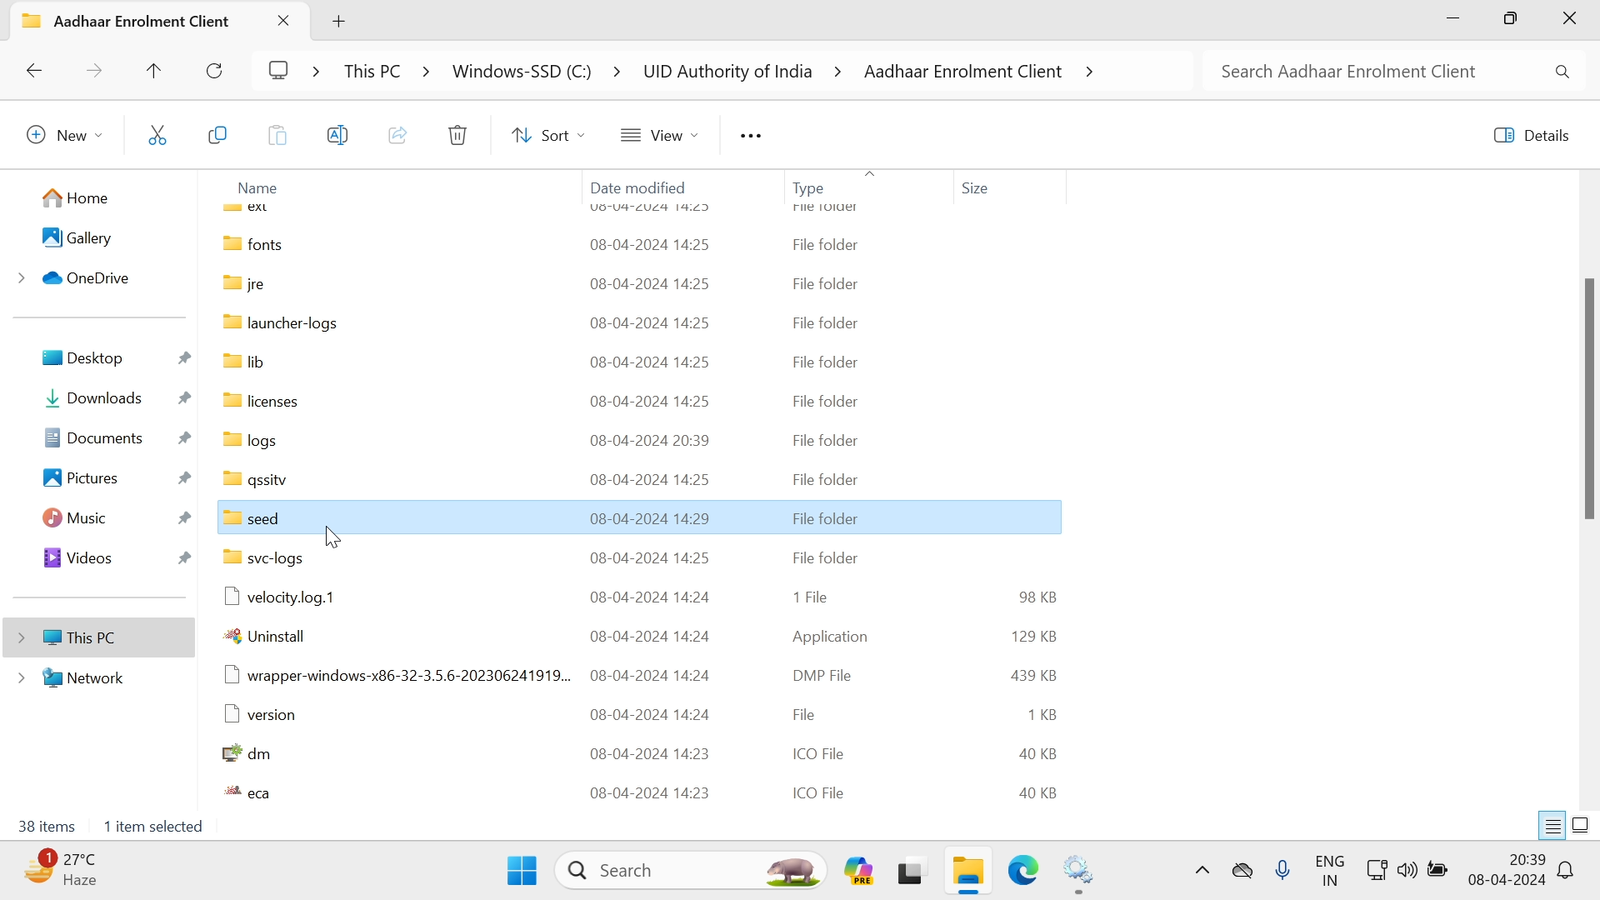
5. उसके बाद आपको अगला Folder ओपन करना है जिसका नाम है (Aadhaar Enrolment Client):
6. घबराइए नहीं Picture अभी बाकि है, अगला स्टेप है आपको यहाँ “Seed” नामक Folder को ढूँढना है:
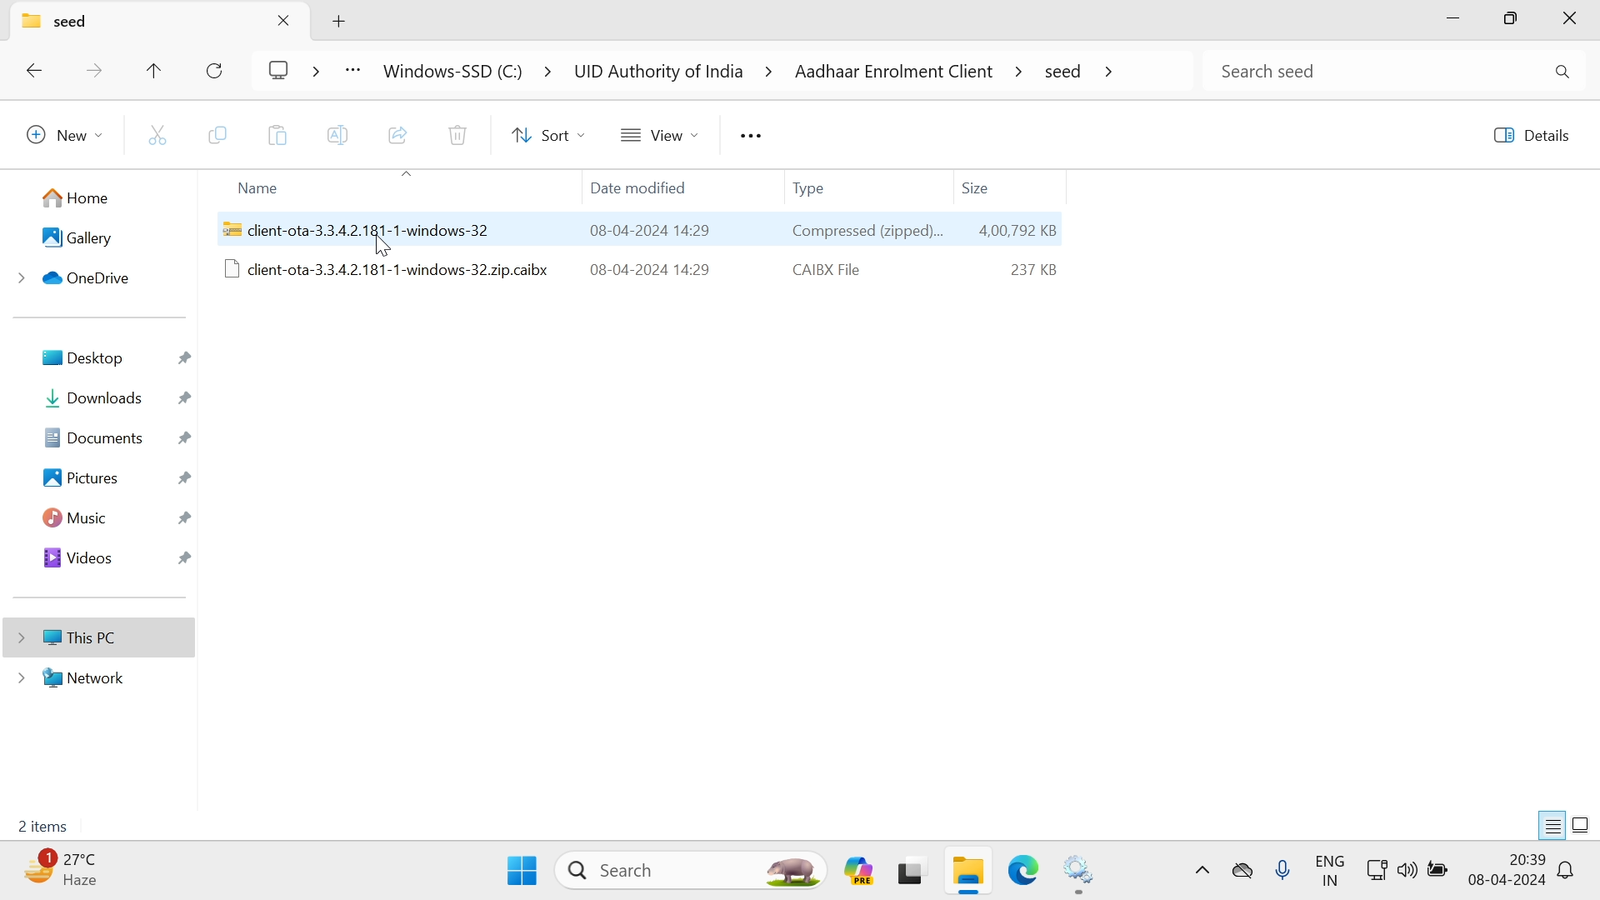
7. “Seed” के अन्दर का Interface कुछ ऐसा दिखेगा आपको :
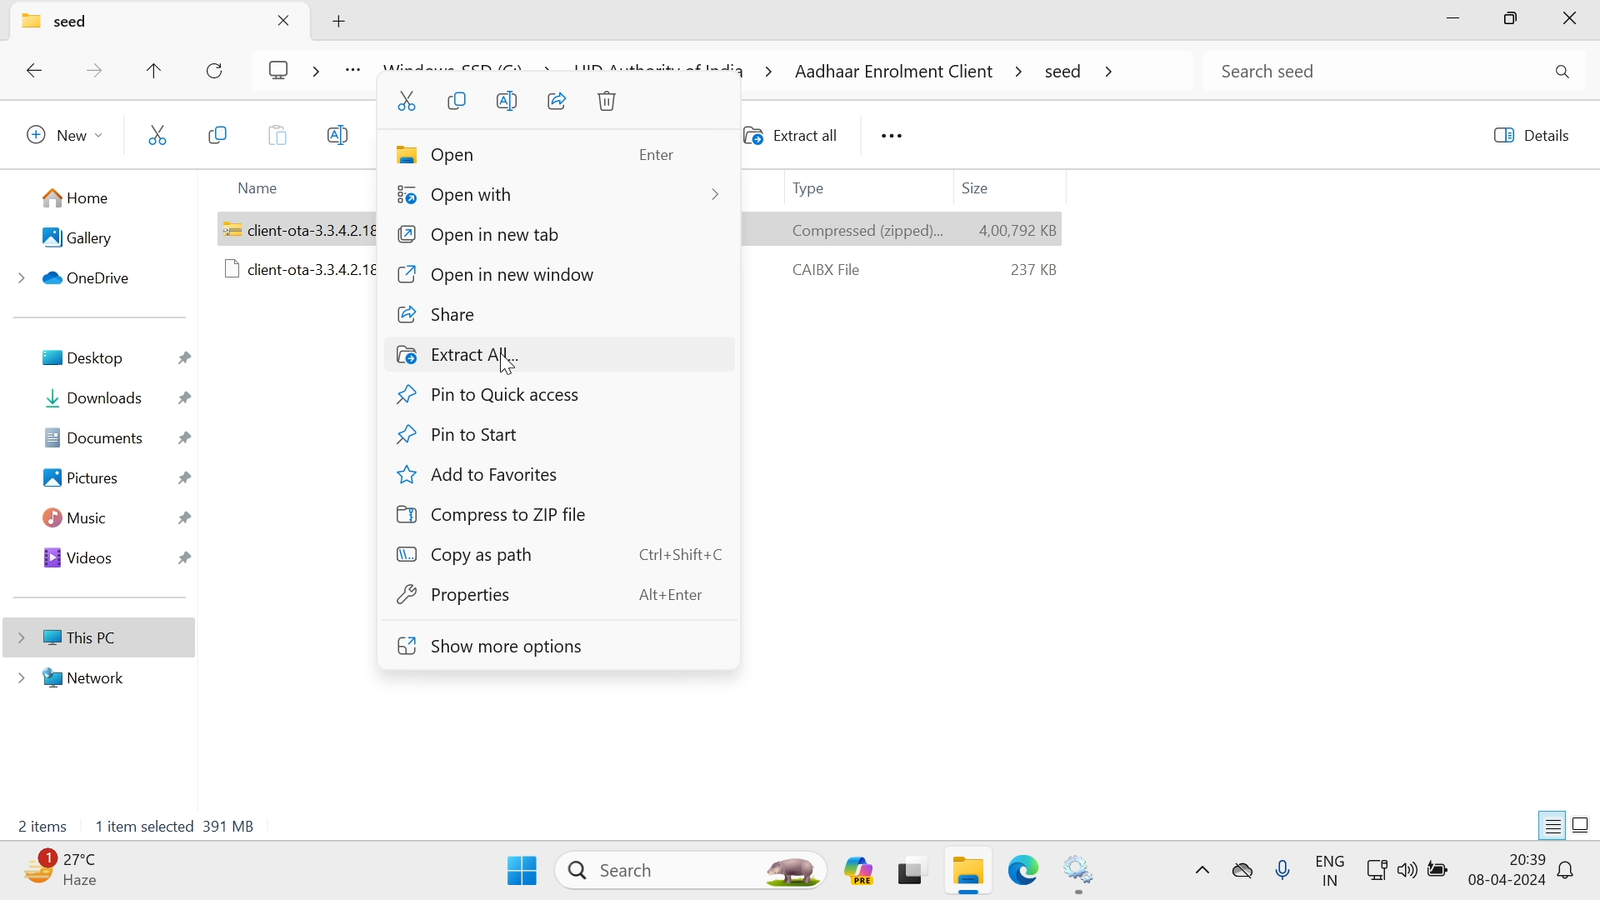
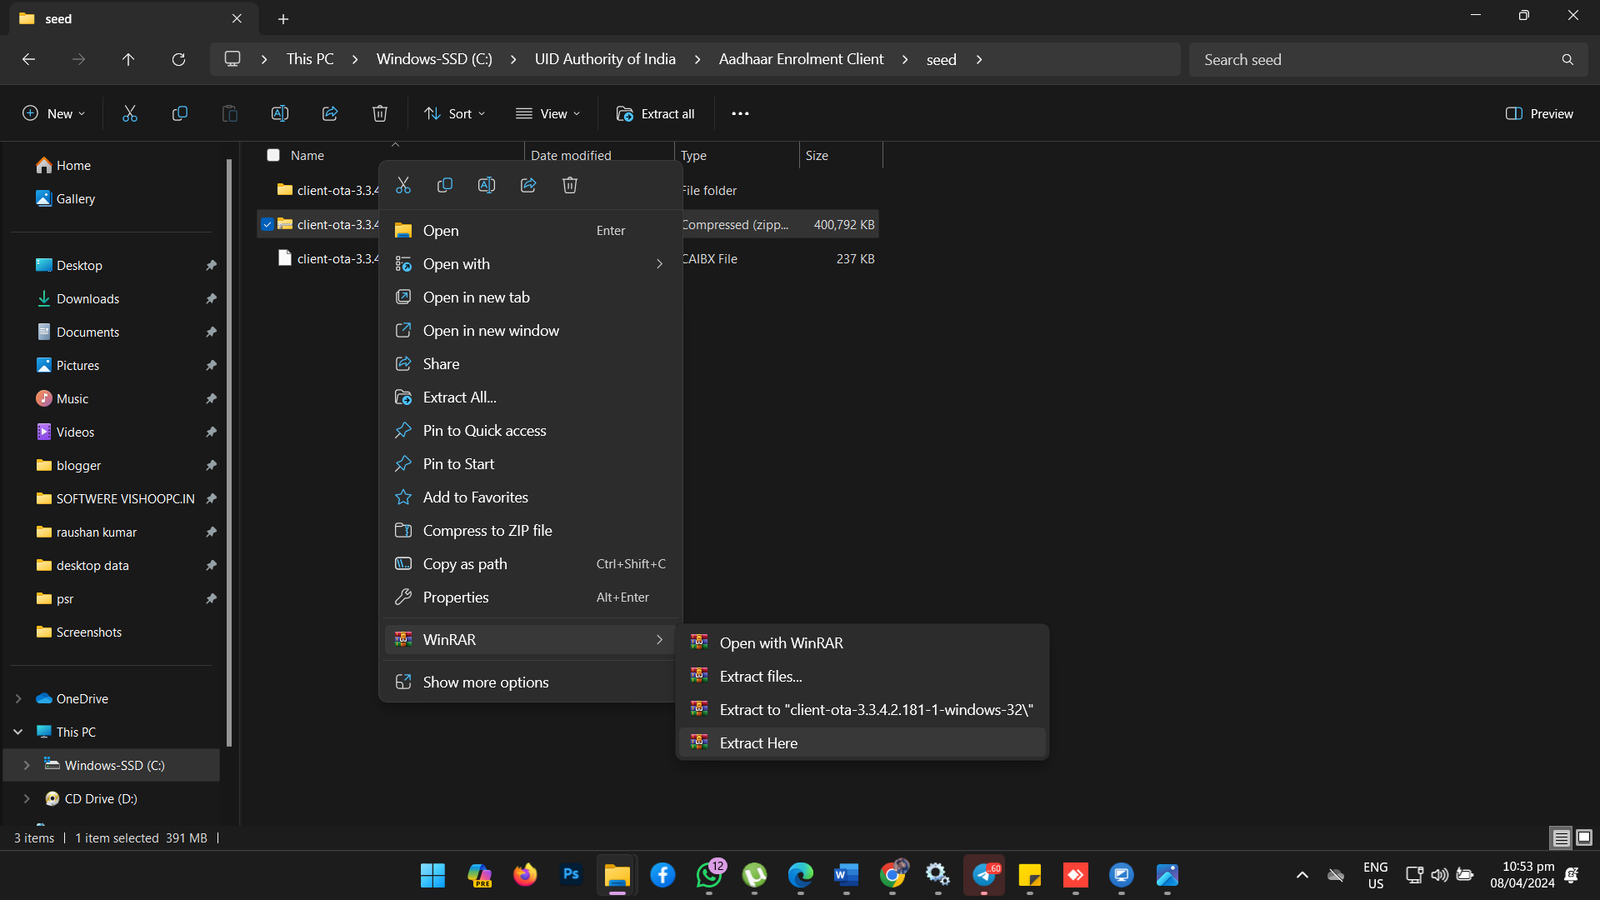
8. फिर इसके बाद आपको (Client-Ota-3.3.4.2.181-1-windows-32) नामक Folder पर Right Click कर के Extract All कर लेना है, हो सके तो आपके इस फोल्डर का नाम चेंज भी हो सकता आपके Aadhaar Software Version के हिसाब से (3.3.4.2.181-1) की जगह (3.3.4.2.182-3), या फिर नया Version (3.3.4.2.184-3) भी हो सकता है , जो भी Version हो खैर उससे मतलब नहीं आपको बस Extract All करना है :
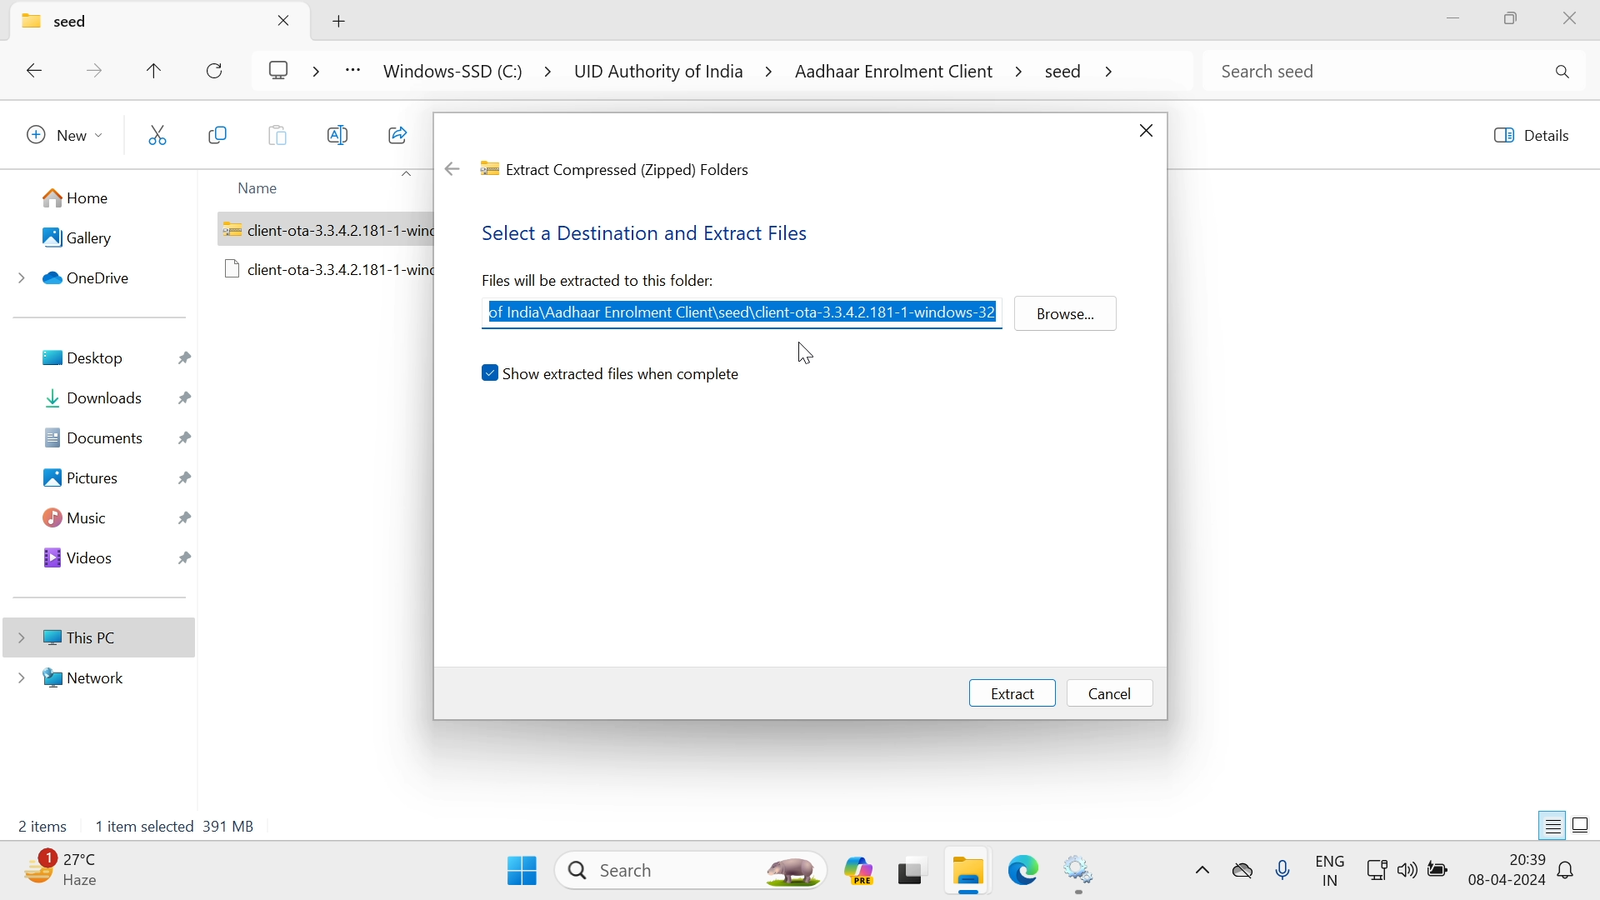
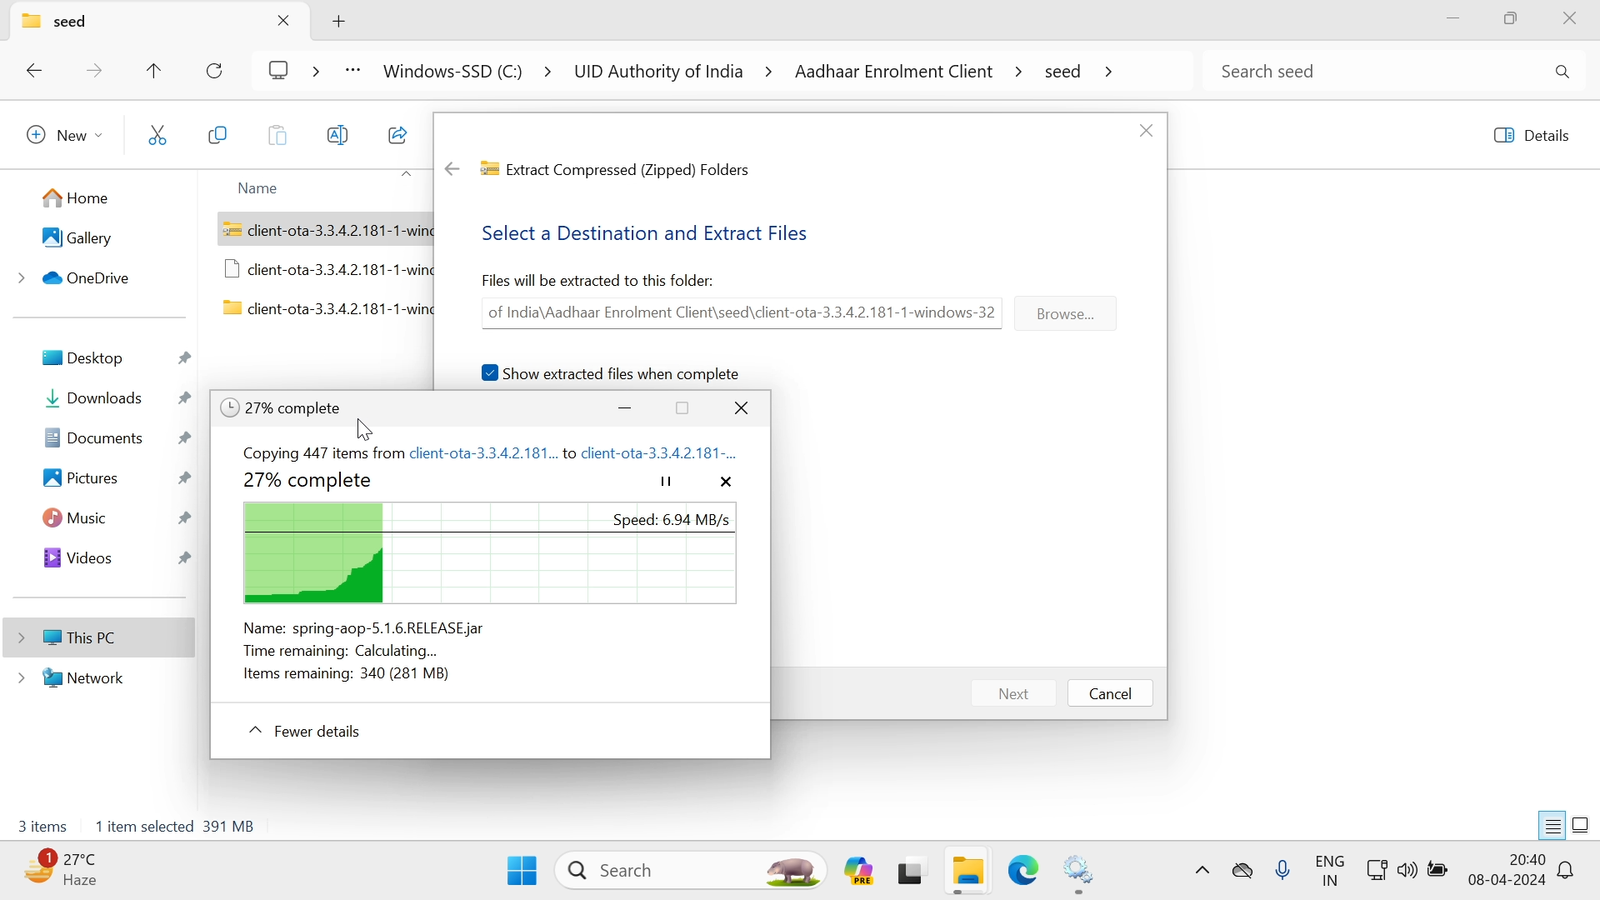
9. उसके बाद आपको कुछ ऐसा Interface दिखेगा, जिसका आपको Distination Folder Select करना है, नहीं तो इसको By Defult छोर देना है :
10. अब ये Extract हो रहा है , अगर आपके System में Winrar Install है तो आपको कुछ ऐसा Interface दिखेगा:
11. Extract होने की प्रक्रिया चल रही है:
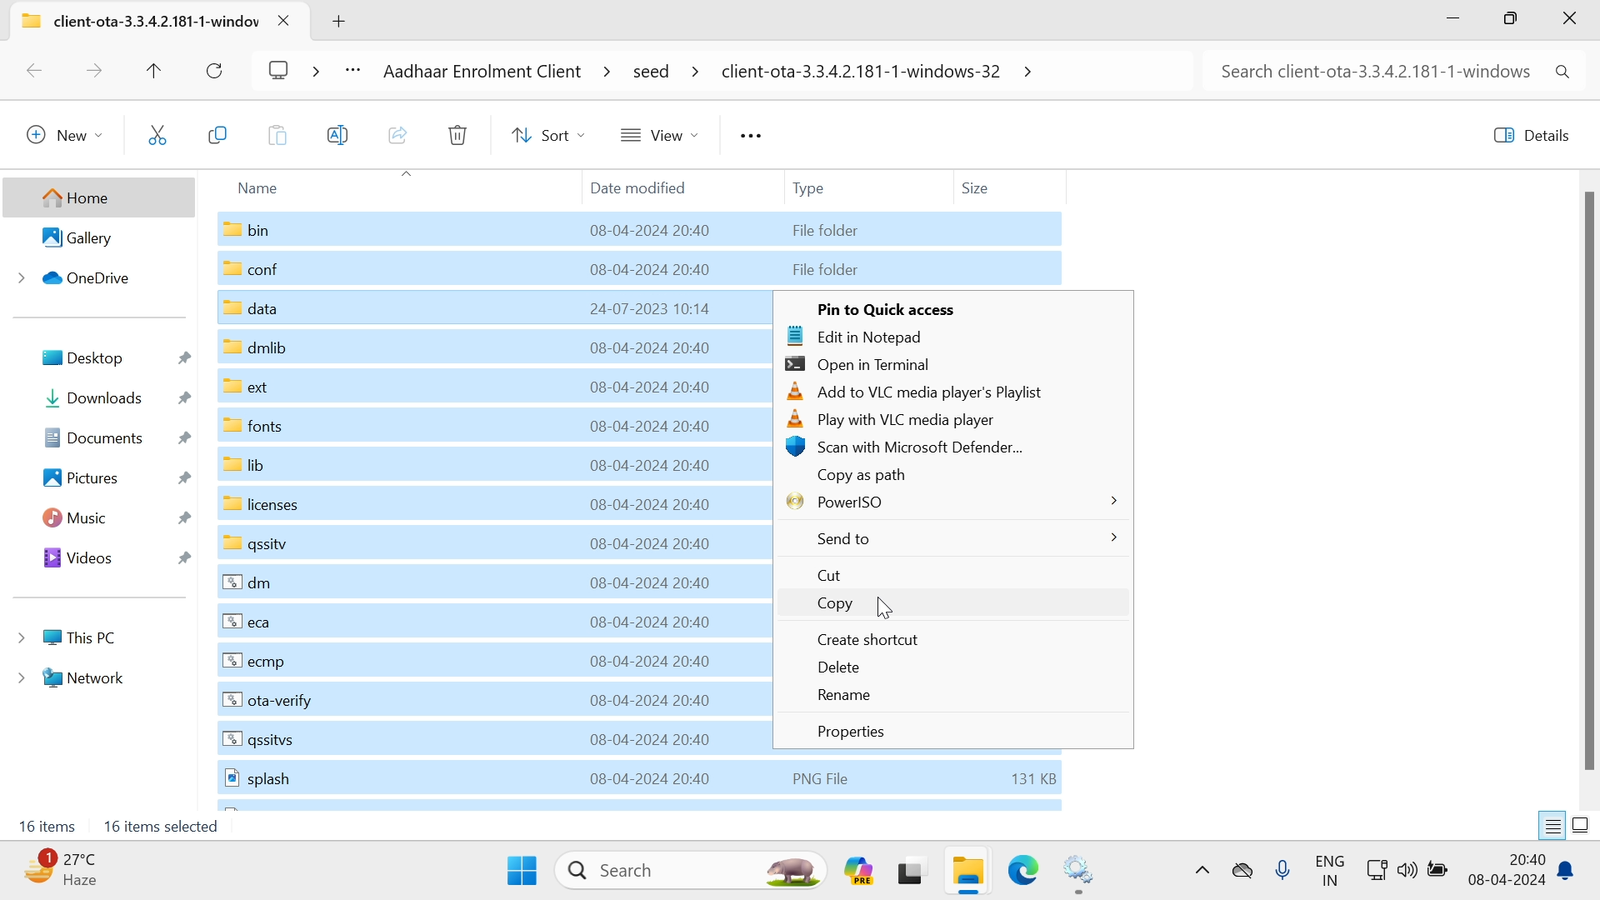
12. उसके बाद Extract हुए File को (Ctrl+A) प्रेस कर के Select All करना है, उसके बाद (Ctrl+C) प्रेस कर के Copy कर लेना है:
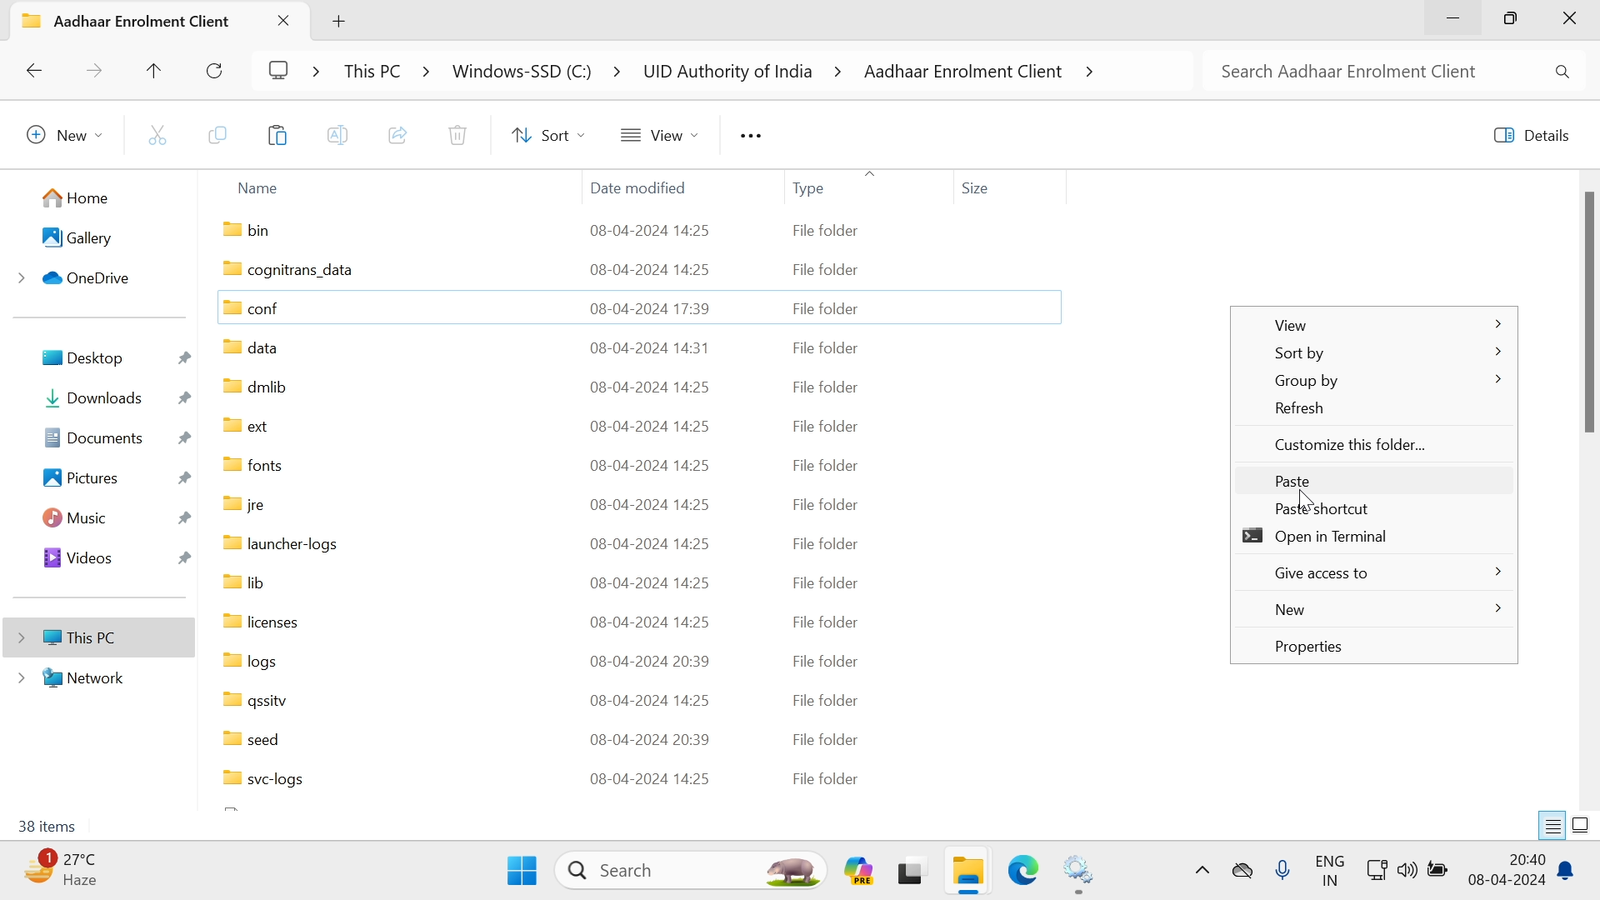
13. फिर आपको पुनः (Aadhaar Enrolment Client) वाले Folder में आके Copy किये हुए Files को Paste कर देना है :
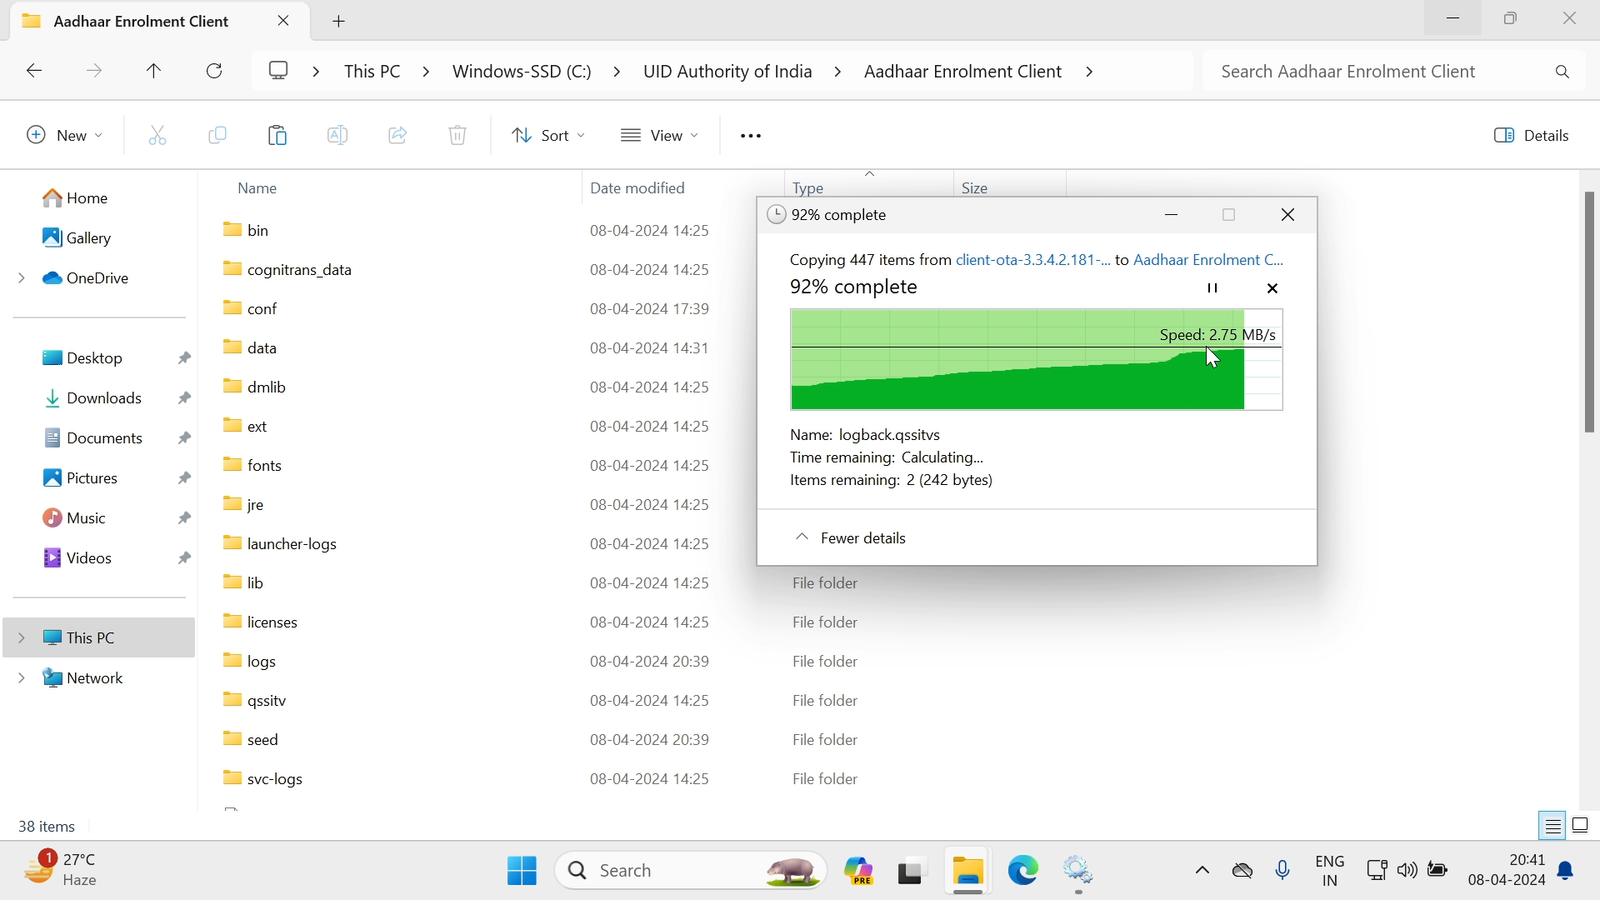
14. Paste करने के बाद आपको कुछ ऐसा देखने को मिलेगा जिसमे आपको ( Replace the files in the destination) पर क्लिक कर देना है जिससे आपका Files Replace हो जायेगा:

15. इसको पूरा 100% तक Complete होने देना है :
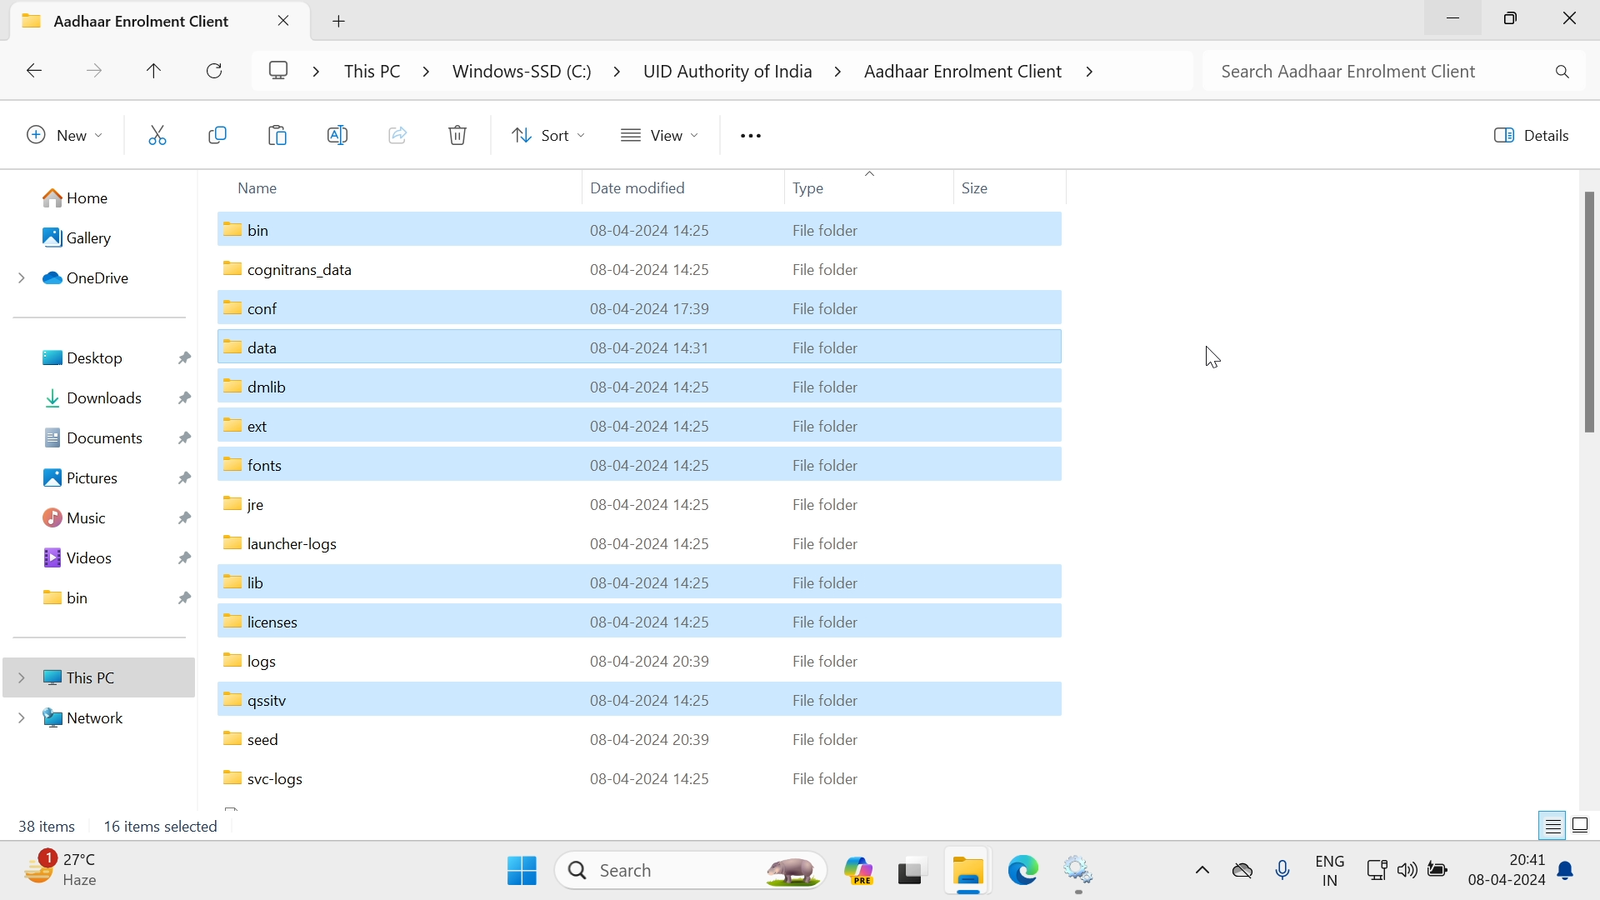
16. 100% Paste होने के बाद आपको कुछ ऐसा दिखेगा Interface:
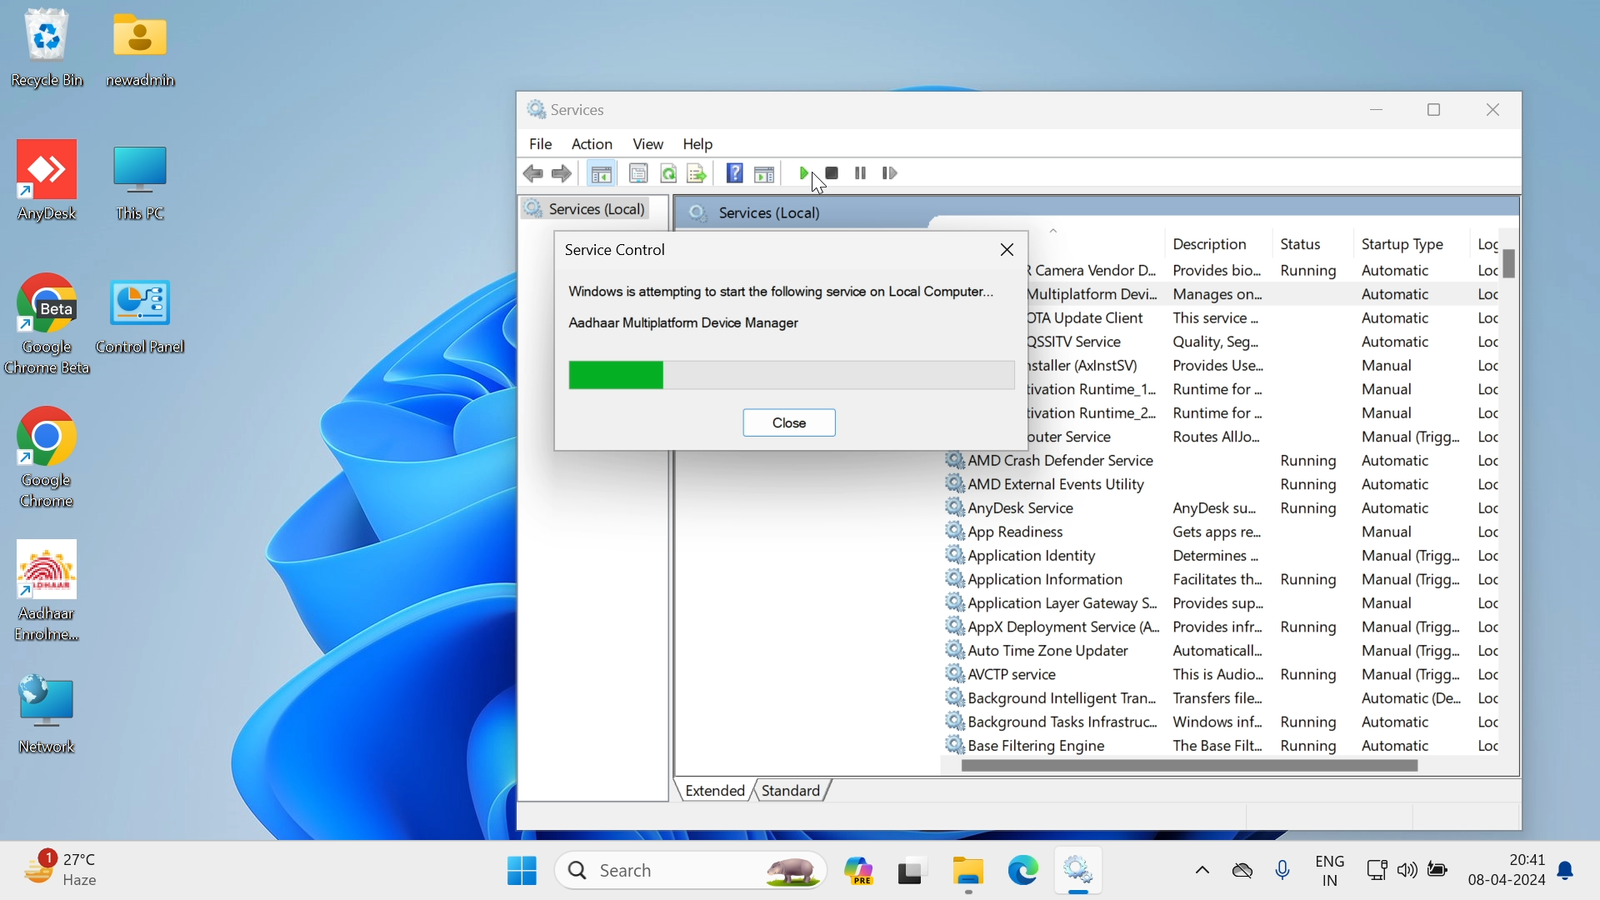
17. पुनः आपको पिछले स्टेप “Services” ⚙️ में आना है और इन तीनो Services जिसके आपने “Stop” किया था उसको “Start” करना है:
- Aadhaar Multiplatform Device Manager
- Aadhaar OTA Update Client
- Aadhaar QSSITV Service
17. हमने पूरा Process कर लिए है आइये देखते है ( Aadhaar Enrolment Client) को स्टार्ट कर के :
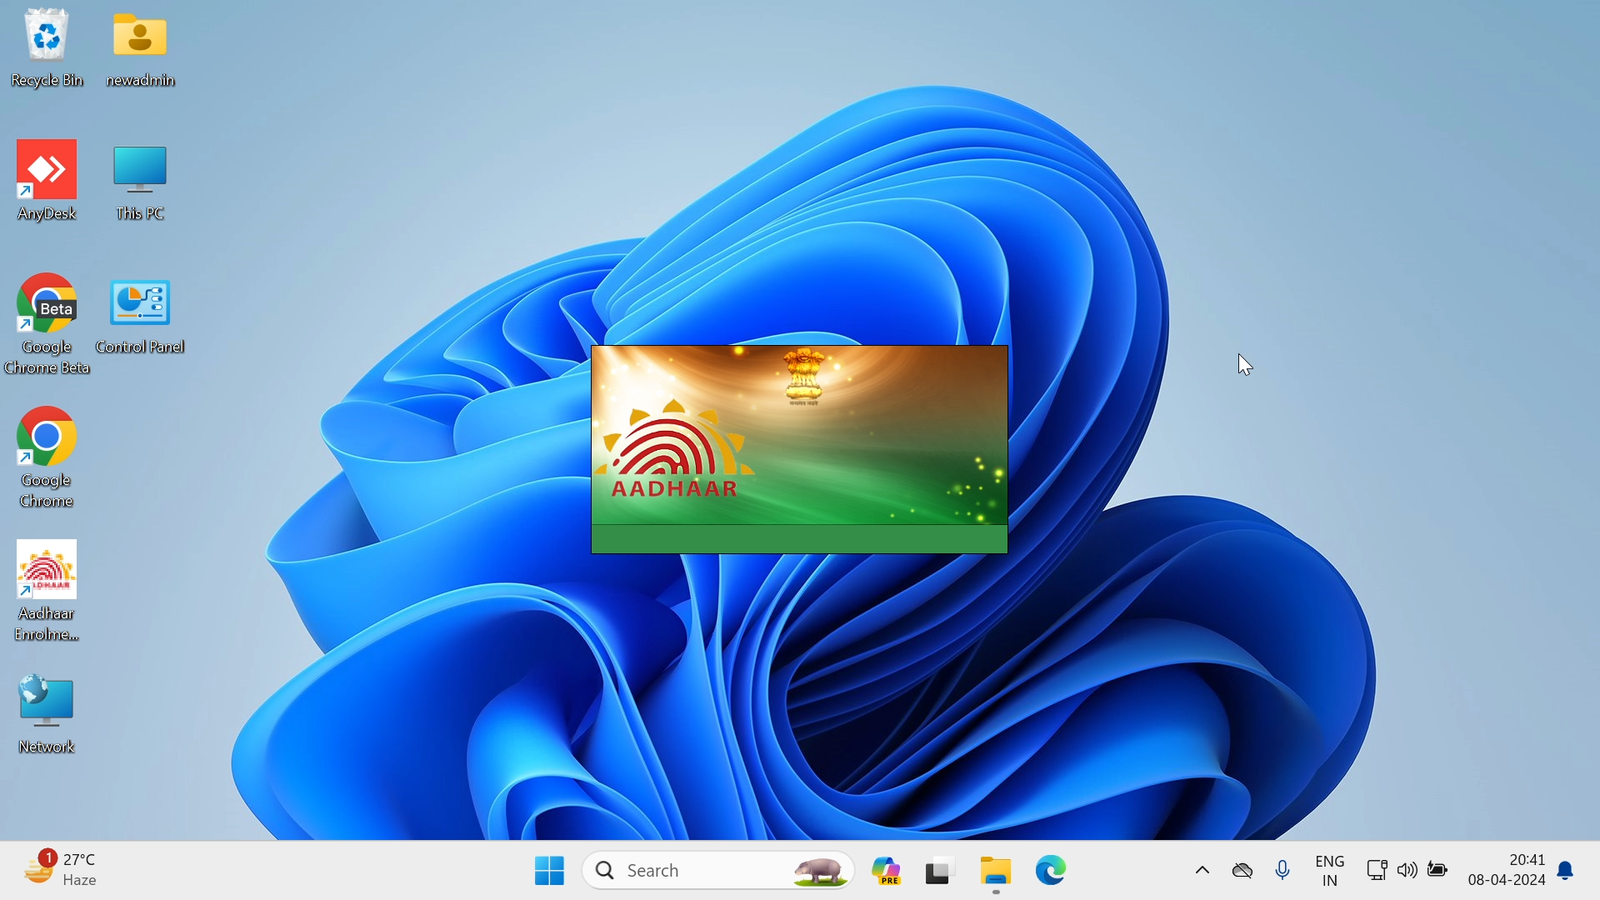
19. “Aadhaar Enrolment Client” Open हो चूका है
| ये आर्टिकल थोरा बड़ा हो गया है लेकिन आपको समझ में भी आना चाहिए, हमने इस तरीके से बनाया है की आप आसानी से समझ जाये , अगर आर्टिकल पसंद आये तो प्लीज शेयर जरुर करे | |
| अगर इतना सब कुछ करने के बाद भी आपका “Aadhaar Enrolment Client” Open नहीं हो रहा है तो आप अपने {Techinical Support} से संपर्क कर सकते है, |
| या तो फिर आप हमारे Team से Remote Control, या Anydesk के माध्यम से अपना System ठीक करवा सकते है जो एक Paid-Services है |
आप हमें मेल के माध्यम से संपर्क कर सकते है Gmail: – admin@vishoopc.in |
| यहाँ आपको आधार से Realeted सभी News मिलते रहेंगे, इसके लिए आप हमारे Whatsapp Channel को ज्वाइन कर सकते है |
Whatsapp Channel Link – Click Here |
Pingback: The Last Letter She Never Read ( chapter 1 )